Troubleshooting Common Candle Making Problems: Tunneling, Frosting, and More

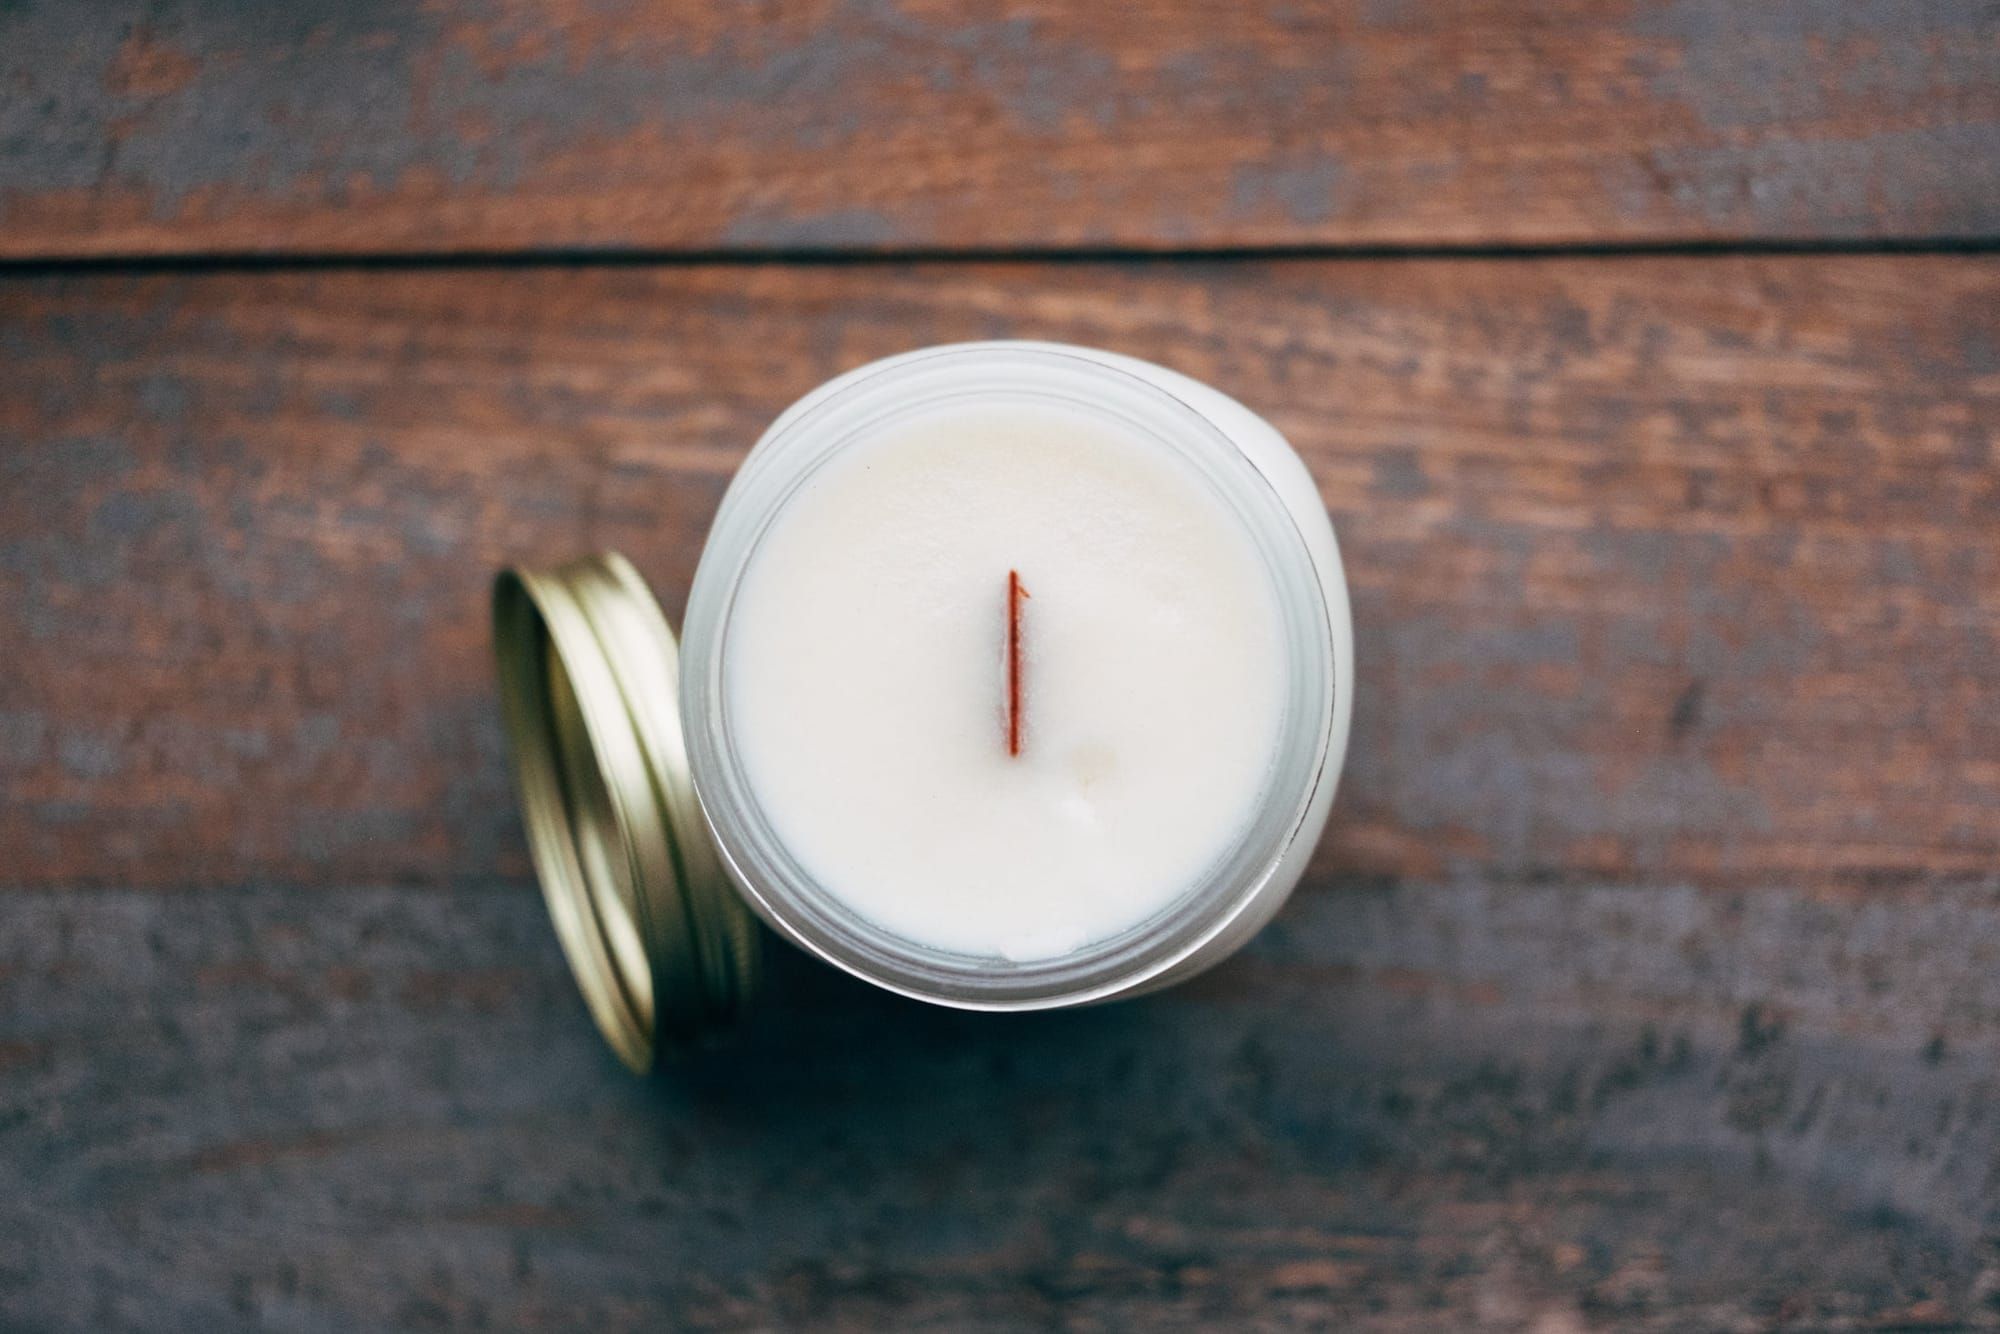
There's nothing quite as frustrating as spending hours crafting what you thought would be the perfect candle, only to discover tunneling, unsightly frosting, or poor scent throw. If you've been making candles for any length of time, you've probably encountered at least one of these issues, and if you're new to candle making, you're likely wondering how to avoid them altogether.
Don't worry. Every candle maker, from hobbyists to professionals, has faced these challenges. The good news? Most candle problems have straightforward solutions once you understand what's causing them. Let's dive into the most common issues and how to fix them.
Problem #1: Tunneling - The Candle Killer
Tunneling is arguably the most frustrating candle problem. You light your beautiful candle, and instead of melting evenly across the surface, it burns straight down the middle, leaving a "tunnel" of wasted wax around the edges.
What Causes Tunneling?
Wick Size Issues: The most common culprit is a wick that's too small for your container. If the wick can't generate enough heat to melt the wax all the way to the edges, you'll get tunneling.
Poor First Burn: The first burn sets the "memory" for your candle. If you don't let it burn long enough to create a full melt pool initially, subsequent burns will follow that same narrow pattern.
Hard Wax Blends: Some wax types, especially harder blends or those with high stearic acid content, require more heat to achieve a full melt pool.
Container Size: Wide containers with small wicks often tunnel because the wick can't throw enough heat to the outer edges.
How to Fix Tunneling
Prevention First: Choose the right wick size for your container diameter. A good rule of thumb: your wick should create a melt pool that reaches within 1/4 inch of the container edge within 2-4 hours of burning.
Fix Existing Tunneling:
- Use a hair dryer to gently warm the surface and melt the excess wax back into the center
- Wrap aluminum foil around the top of the candle, leaving the center open, to reflect heat back to the edges
- Trim the tunnel walls down closer to the wick level (but never below the wick)
The First Burn Rule: Always burn new candles for 1 hour per inch of diameter on the first use. A 3-inch candle should burn for 3 hours initially to establish proper memory.
Problem #2: Frosting - The White Film Mystery
Frosting appears as a white, crystalline film on the surface of your candles, most commonly with soy wax. While it doesn't affect performance, it can make your candles look old or defective.
Understanding Frosting
Frosting is a natural characteristic of soy wax, caused by the natural crystallization process. Temperature changes, humidity, and even vibration during shipping can trigger it. Think of it like chocolate bloom—purely cosmetic but visually unappealing.
Minimizing Frosting
Temperature Control: Pour your wax at lower temperatures (typically 125-135°F for soy wax) and let candles cool slowly in a draft-free environment.
Wax Blends: Consider using a soy-paraffin blend instead of 100% soy wax. The paraffin helps reduce crystallization.
Additives: Small amounts of vybar or stearic acid (0.5-1%) can help reduce frosting, though they may affect other aspects of your candle.
Storage: Store finished candles in consistent temperatures away from direct sunlight and temperature fluctuations.
Embrace It: Many candle makers now market frosting as a sign of natural soy wax, turning this "flaw" into a selling point for eco-conscious customers.
Problem #3: Poor Scent Throw
Nothing's more disappointing than a candle that barely smells when lit. Scent throw issues come in two varieties: cold throw (scent when unlit) and hot throw (scent when burning).
Diagnosing Scent Throw Issues
Fragrance Load: You might not be using enough fragrance oil. Most waxes can handle 6-12% fragrance load, but check your specific wax manufacturer's recommendations.
Fragrance Quality: Not all fragrance oils are created equal. Cheap or old fragrance oils often have poor throw.
Wax Temperature: Adding fragrance oil at the wrong temperature can cause it to burn off or not bind properly with the wax.
Wick Size: A wick that's too small won't create a large enough melt pool to release fragrance effectively.
Improving Scent Throw
Optimize Fragrance Load: Start with 8-10% fragrance load and adjust from there. More isn't always better—too much can actually clog the wick and reduce throw.
Temperature Matters: Add fragrance oil when your wax is at the manufacturer's recommended temperature, typically 185°F for most waxes.
Curing Time: Let your candles cure for at least 24-48 hours before testing. Some candles improve significantly after a week of curing.
Choose the Right Wax: Different waxes have different scent throw capabilities. Paraffin typically has the best hot throw, while soy excels at cold throw.
Wick Up: If scent throw is consistently poor, try going up one wick size to create a larger, hotter melt pool.
Problem #4: Wet Spots
Those unsightly gaps between the wax and container wall are called wet spots, though they're actually air pockets, not moisture.
Preventing Wet Spots
Pour Temperature: Pour at the lowest temperature that still allows smooth pouring, typically 135-145°F depending on your wax.
Preheat Containers: Warm your containers to about 100-120°F before pouring to help the wax adhere better.
Avoid Temperature Shock: Let candles cool gradually. Rapid temperature changes encourage wet spots.
Container Choice: Glass containers with smooth, clean surfaces work best. Textured or dirty containers are more prone to wet spots.
Living with Wet Spots
Sometimes wet spots are unavoidable, especially with natural waxes in certain climates. Many professional candle makers accept minor wet spots as part of the handmade charm, focusing instead on performance over perfect appearance.
Problem #5: Wick Issues
Mushrooming
When your wick develops a carbon ball at the tip (mushrooming), it's usually because the wick is too large or your fragrance load is too high. This creates excessive heat and an oversized flame.
Solution: Trim the wick to 1/4 inch and consider going down a wick size for future candles.
Drowning Wicks
If your wick keeps going out or struggles to stay lit, it might be "drowning" in wax.
Causes: Wick too small, wax too hard, excessive fragrance oil, or improper wick trimming.
Solutions: Size up your wick, ensure proper wick trimming, or adjust your wax blend.
Crackling and Popping
While some crackling can add ambiance (like with wooden wicks), excessive popping usually indicates moisture or impurities in your wax or wick.
Prevention: Ensure your wax and wicks are completely dry, and avoid overheating your wax.
Problem #6: Sinkholes and Surface Defects
Sinkholes
These crater-like depressions form as wax cools and contracts, often around the wick area.
Prevention:
- Pour at lower temperatures
- Use a heat gun or hair dryer to smooth the surface before it fully sets
- Save some wax for a second pour to fill any sinkholes that develop
Uneven Surfaces
Bumpy or uneven candle surfaces can result from pouring too hot, cooling too quickly, or temperature fluctuations during cooling.
Solutions:
- Maintain consistent pouring temperatures
- Allow gradual cooling away from drafts
- Use a second pour technique for smooth tops
Advanced Troubleshooting Tips
Keep Detailed Records
Document your recipes, including wax type, fragrance percentage, wick size, pour temperature, and environmental conditions. This makes it easier to identify patterns when problems occur.
Test, Test, Test
Always make test candles before committing to large batches. Small 2-4 oz test candles can save you from wasting materials on problematic formulations.
Environmental Factors
Don't underestimate the impact of humidity, temperature, and air circulation in your workspace. These factors can significantly affect how your candles turn out.
Know Your Materials
Different wax brands, even of the same type, can behave differently. What works perfectly with one brand of soy wax might not work with another.
When to Start Over
Sometimes, despite your best efforts, a candle just isn't salvageable. Signs it's time to melt down and start fresh:
- Severe tunneling that can't be corrected
- Multiple wick-related problems
- Complete absence of scent throw after curing
- Safety concerns like oversized flames or excessive smoking
Remember, even professional candle makers have batches that don't turn out perfectly. Each "failure" is a learning opportunity that brings you closer to mastering your craft.
Prevention Is Your Best Friend
While knowing how to fix problems is valuable, preventing them in the first place is even better. Here's your prevention checklist:
- Test extensively before scaling up production
- Maintain consistent processes and document what works
- Use quality materials from reputable suppliers
- Control your environment as much as possible
- Stay patient during the learning process
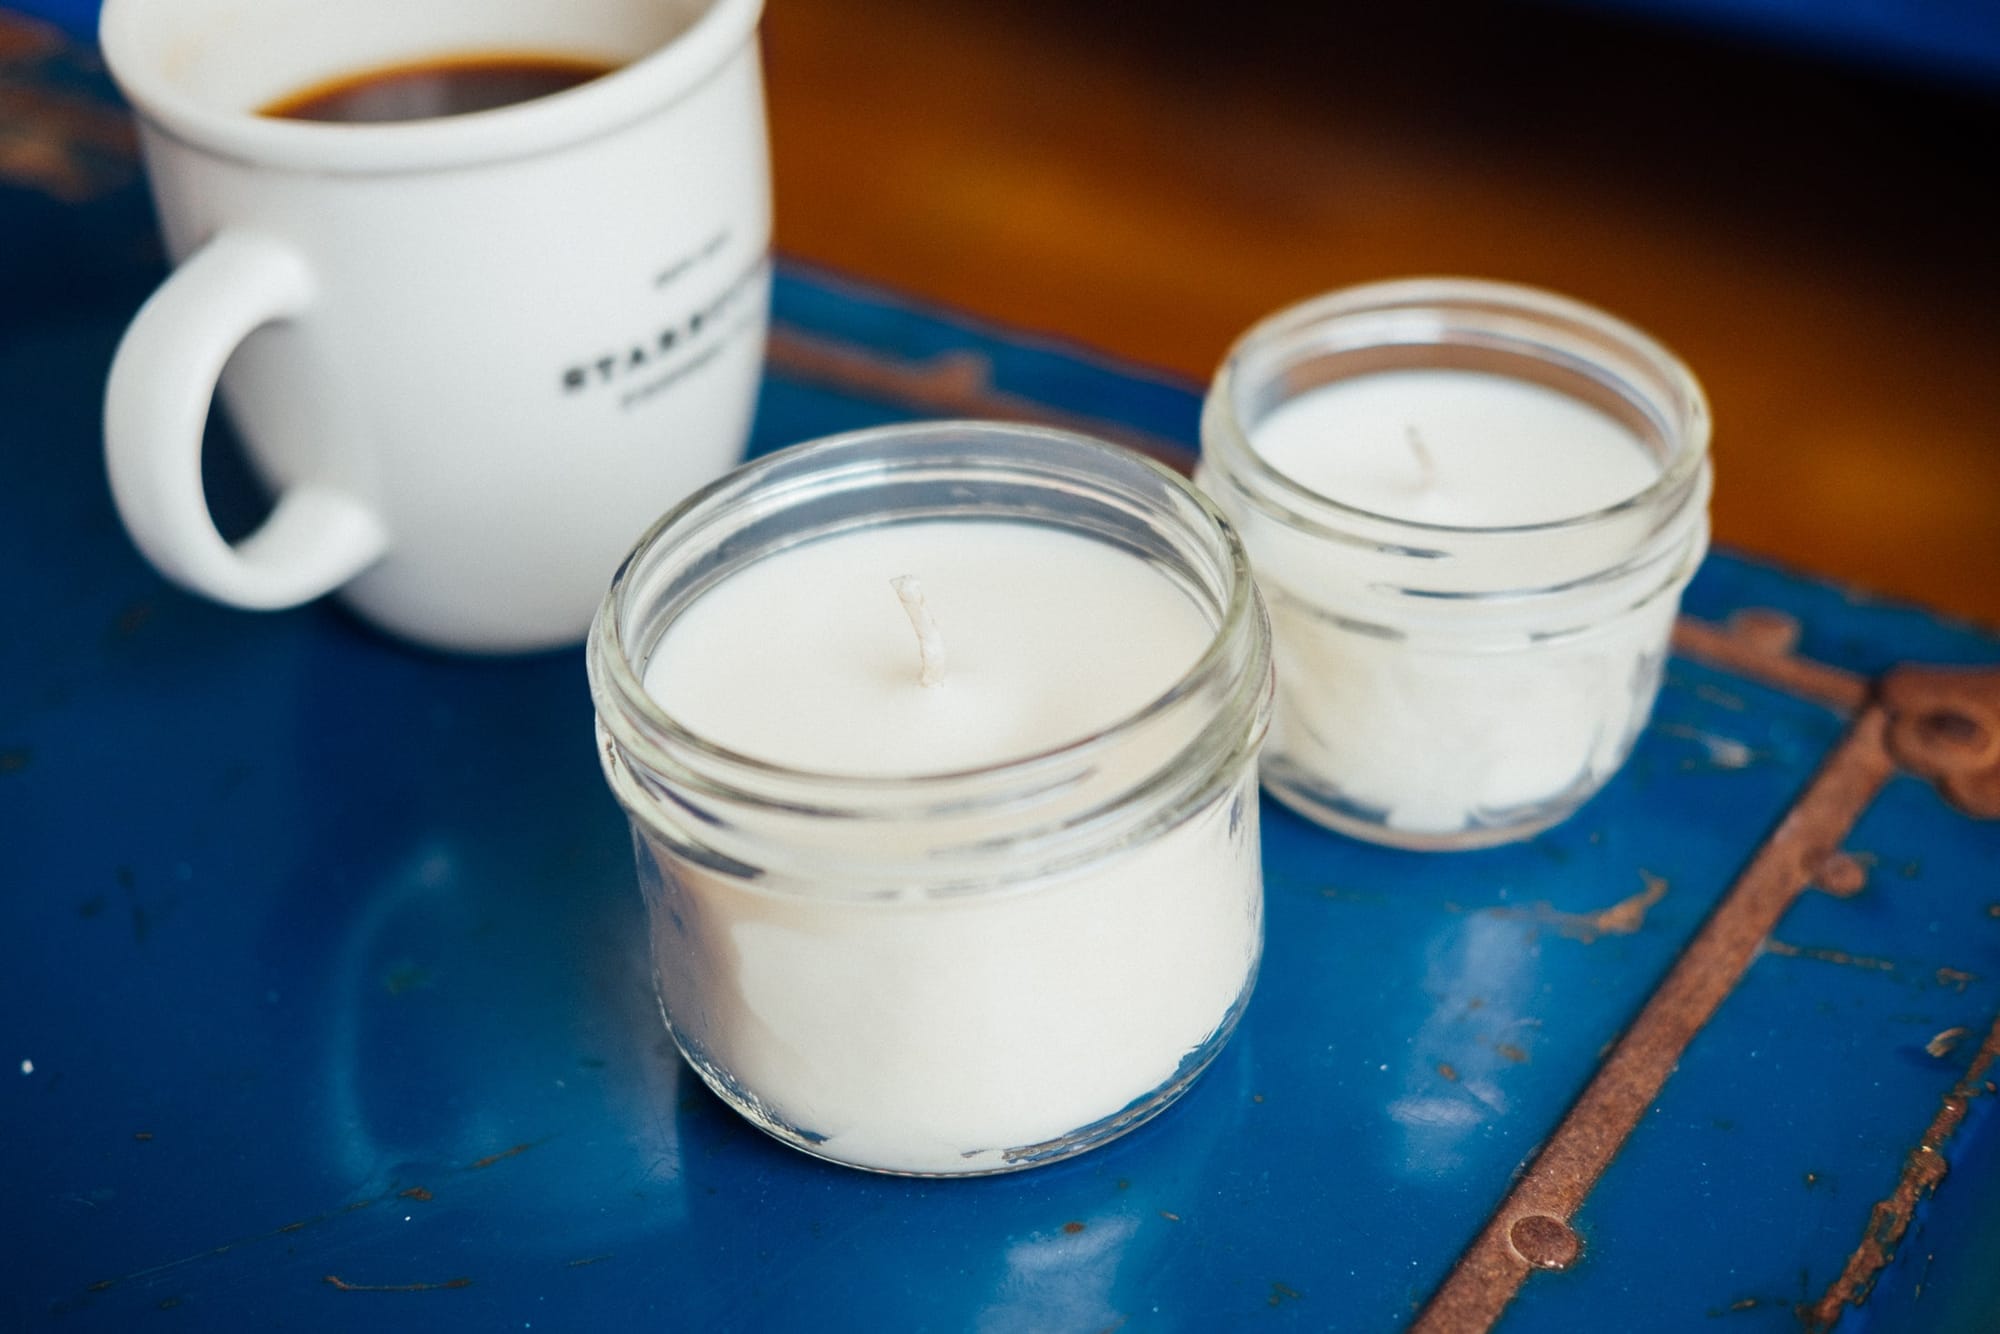
Candle making problems are frustrating, but they're also completely normal and usually fixable. The key is understanding what causes each issue and having a systematic approach to addressing them. With time and experience, you'll develop an intuition for potential problems and catch them before they become major issues.
Remember, even the most experienced candle makers encounter challenges. The difference is that they've learned to troubleshoot systematically and adjust their processes based on results. Keep experimenting, stay curious about what's happening in your candles, and don't be afraid to start over when necessary.
Your perfect candle-making process is out there—it's just a matter of working through the challenges to find it.
What candle making problems have you encountered? Share your experiences and solutions in the comments below, and don't forget to subscribe for more candle making tips and tutorials!