How to Properly Test the Melt Pool of a Wick

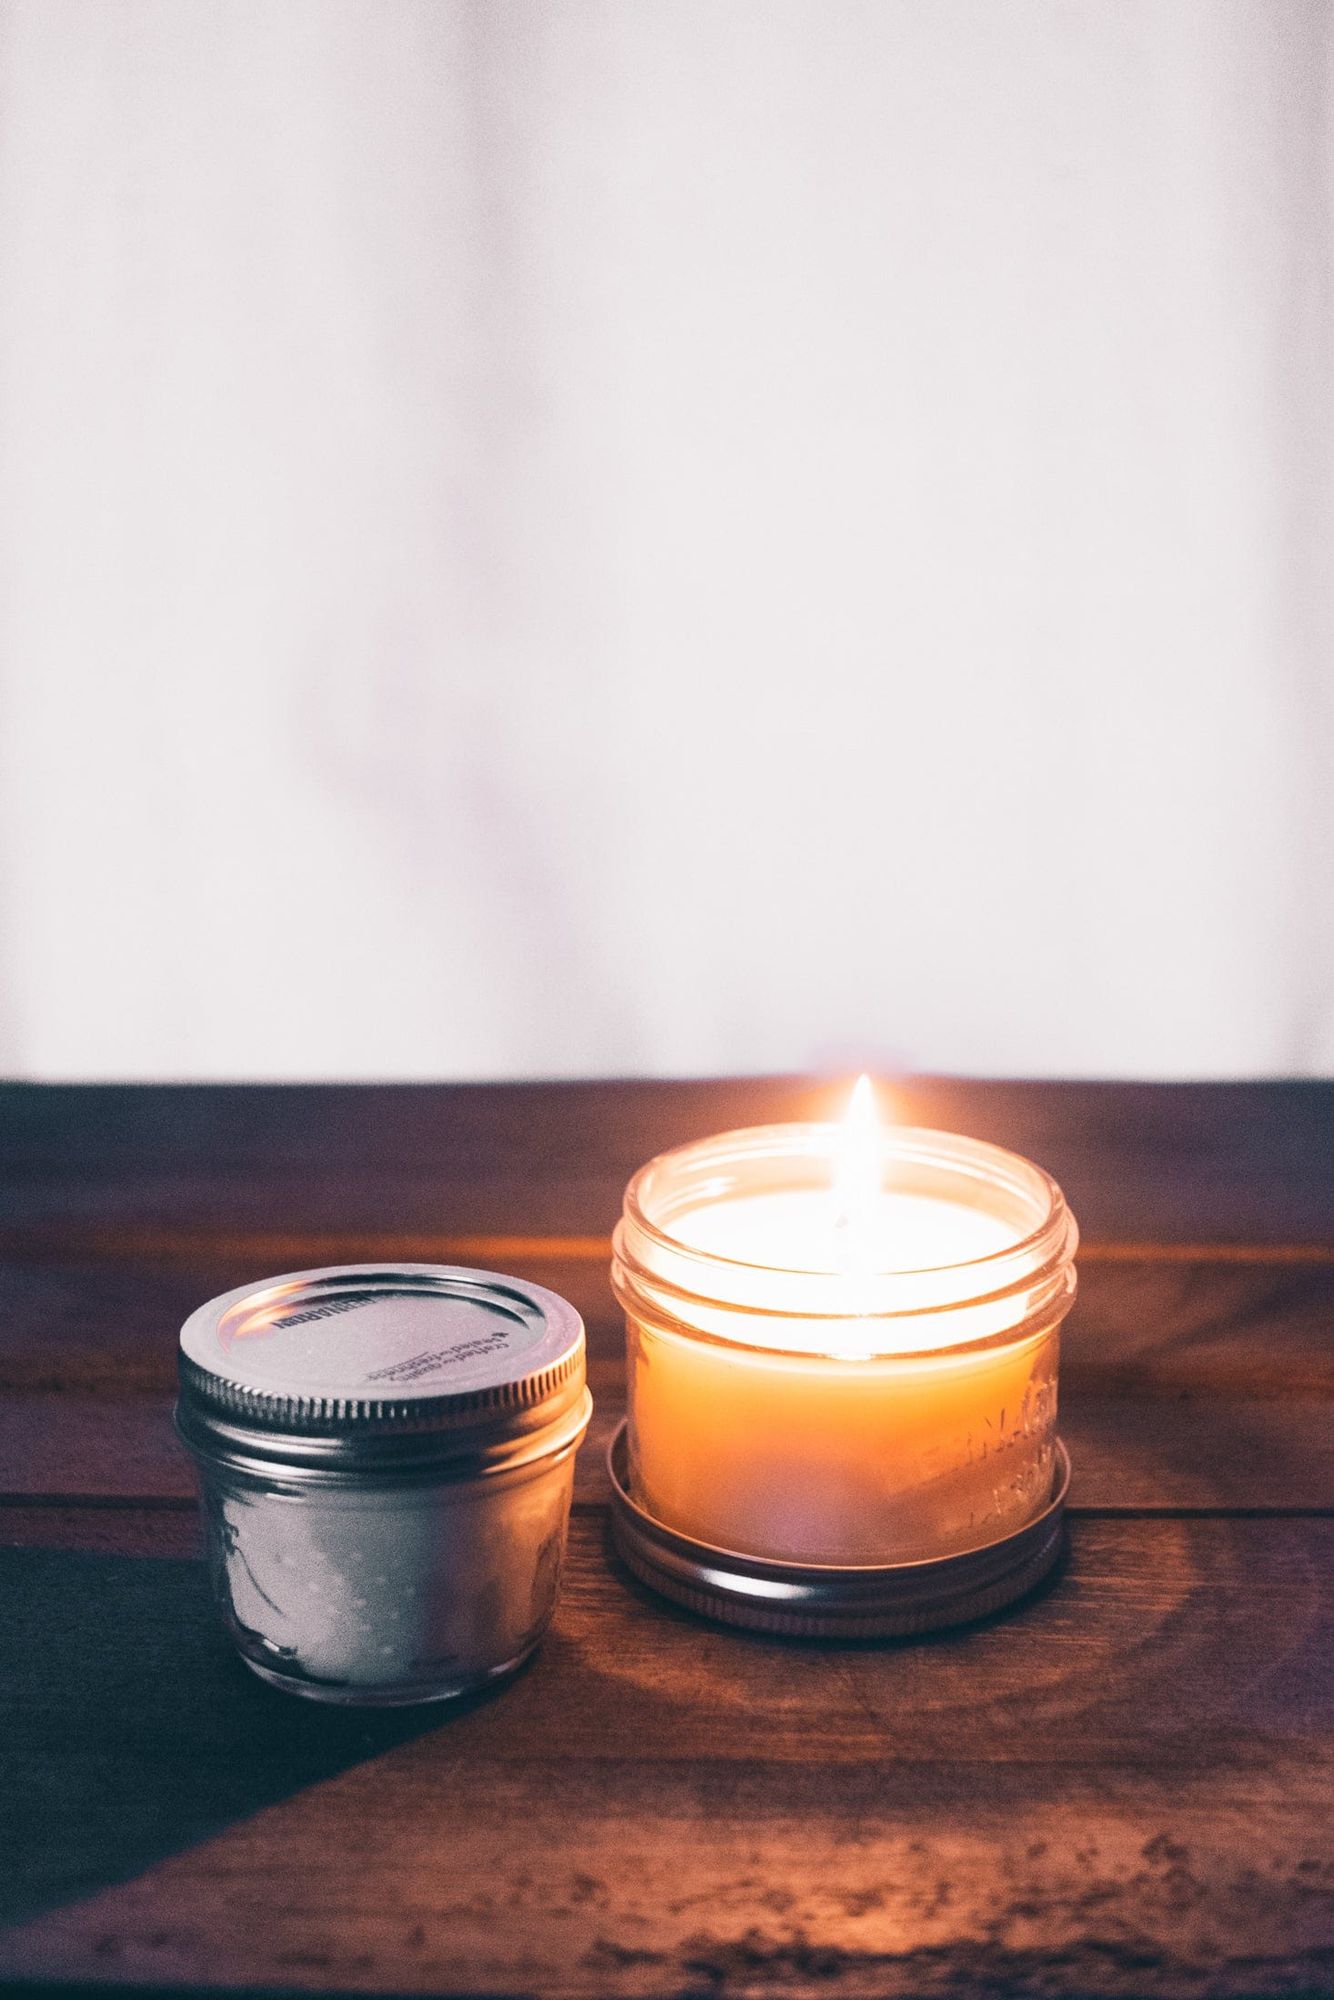
Testing your wick's melt pool performance is one of the most critical steps in candle making. The right wick creates a complete melt pool that reaches the container edges, ensuring even burning and optimal fragrance throw. This guide will show you the proper method for testing whether your wick is correctly sized for your candle.
Why Melt Pool Testing Matters
The melt pool is the liquid wax that forms when your candle burns. Proper wick sizing ensures:
- Complete wax consumption - prevents tunneling and wasted wax
- Maximum fragrance throw - scent disperses evenly when wax melts fully
- Safe burning - correctly sized wicks prevent smoking and overheating
- Professional results - customers get the full value from their candle
A properly sized wick should create a melt pool that reaches the container's edge within 2-4 hours.
Before You Begin: Test Candle Preparation
Critical Requirements
Cure time: Allow your test candle to cure for at least 1-2 weeks. Uncured candles won't give accurate results because the wax and fragrance haven't fully bonded.
Testing environment:
- Room temperature between 68-72°F (20-22°C)
- No drafts from windows, fans, or air vents
- Level, heat-safe surface away from flammable materials
- Good lighting to observe the flame and melt pool
Document your candle specs:
- Container diameter (measure inside width at the top)
- Wax type and brand
- Wick type and size being tested
- Fragrance oil percentage
- Any additives (dye, vybar, etc.)
Step-by-Step Testing Method
What You'll Need
- Test candle (fully cured)
- Ruler or caliper for measuring
- Timer or clock
- Notepad or testing sheet
- Camera (optional but helpful)
The Testing Process
Step 1: Initial Measurements
Before lighting, measure and record:
- Inside diameter of your container
- Calculate what a full melt pool should be (the full width)
Step 2: Light and Start Timer
Trim wick to 1/4 inch, light the candle, and start your timer immediately.
Step 3: Hourly Observations
Check your candle at these intervals:
After 1 hour:
- Measure the melt pool diameter at its widest point
- Note the melt pool depth (approximately)
- Observe flame height (should be 1/2 to 1 inch)
- Look for: smoking, excessive flickering, mushrooming on wick
After 2 hours:
- Measure melt pool diameter again
- Note if it's reached the edges yet
- Check flame behavior
- Document any changes
After 3 hours:
- Measure melt pool diameter
- By now, you should be very close to or at the container edges
- Assess flame consistency
After 4 hours:
- Final melt pool measurement
- Note total depth of melted wax
- Take a photo from above showing the full melt pool
Important: Plan to burn for the full 4 hours during your first test. Do not extinguish early or you won't get accurate results.
How to Interpret Your Results
Ideal Result: Full Melt Pool in 2-4 Hours
Success looks like:
- Melt pool reaches within 1/4 inch of container edge by 3-4 hours
- Flame height stays consistent at 1/2 to 1 inch
- No excessive smoking or soot
- Even, circular melt pool shape
- Wax depth approximately 1/4 to 1/2 inch deep
This means your wick is properly sized!
Problem: Tunneling (Melt Pool Too Small)
Signs:
- After 4 hours, melt pool is still 1/2 inch or more from edges
- Wax ring left around the container sides
- Small flame
Solution: Your wick is too small. Size up to the next wick size and retest.
Problem: Melt Pool Reaches Edges Too Quickly
Signs:
- Full melt pool achieved in under 2 hours
- Very large, tall flame (over 1 inch)
- Excessive heat on container
- Smoking or soot formation
- Very deep melt pool (over 1/2 inch)
Solution: Your wick is too large. Size down and retest.
Problem: Uneven or Off-Center Melt Pool
Signs:
- Melt pool favors one side
- Irregular shape
Possible causes:
- Wick not centered during pouring
- Draft in room
- Uneven container bottom
- Re-center wick and test in different location
Testing Tips for Best Results
Always test multiple times: One burn test isn't enough. Test at least 2-3 candles with the same wick to confirm consistency.
Change one variable at a time: If testing different wicks, keep everything else identical (same wax, fragrance %, container).
Keep detailed notes: Document everything. You'll reference these results when making future batches.
Consider your wax type: Different waxes perform differently. Soy wax typically needs larger wicks than paraffin for the same container size.
Fragrance affects burn: Higher fragrance loads can slow melt pool development. Always test with your actual fragrance percentage.
Container matters: Glass thickness, diameter, and shape all impact heat retention and melt pool formation.
Test the full burn life: After your initial burn test passes, continue burning the candle in subsequent sessions to ensure consistent performance throughout its life.
Common Beginner Mistakes
❌ Testing before candle is fully cured
❌ Burning in a drafty area
❌ Not burning long enough (at least 3-4 hours first burn)
❌ Only testing one candle
❌ Guessing measurements instead of using a ruler
❌ Changing multiple variables between tests
Proper wick testing takes patience, but it's the difference between a professional candle and a disappointing one. A correctly sized wick ensures your customers enjoy every bit of wax and fragrance you've carefully chosen. Take the time to test thoroughly, and your candles will burn beautifully every time.
Remember: There's no universal "right" wick. The perfect wick depends on your specific combination of container size, wax type, fragrance load, and additives. Testing is the only way to find your ideal match!
Testing Notes:
- Always test in a draft-free environment
- Allow candle to cure fully before testing (typically 1-2 weeks)
- Conduct multiple tests for consistency
- Never leave burning candles unattended
What are your melt pool testing tips? Share in the comments below!
Disclaimer: Always follow fire safety guidelines when testing candles. Never leave burning candles unattended.